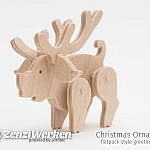
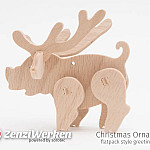
Christmas Ornament „Weihnachtsschweinchen“
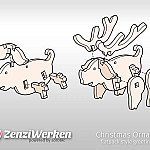
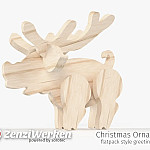
As I did 2 years ago, I have once again designed a small Christmas tree ornament for greetings cards. At first I thought of a sleigh, but then I decided to make a reindeer. However, that would have been a little boring and so the Weihnachtsschweinchen (Christmas piglet) was created.
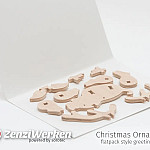
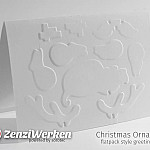
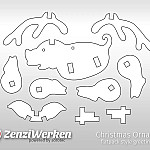
The ten pieces are again sized to fit on a DIN A6 postcard. The embossing is also used again. This means that the pieces can be attached nicely using glue dots.
Unlike my 'usual' three-layer animals (TLA), the legs are slightly offset outwards with cross connections. This is necessary due to the thin material. Otherwise the little pig would have turned out a bit too slim.
zu Thingiverse buy me a coffee commercial license?
Milling the 4 mm beech plywood is a piece of cake. My machine only needs about 3 minutes for the 10 parts. I have dispensed with tabs to minimise post-processing. Both sides are only sanded briefly and can then be used. I arranged the parts differently depending on the width of the raw material. For my material, the narrow version with a width of 80 mm and a height of 160 mm was more effective.
Embossing the cards is a little more complex. I made the embossing plates from offcuts of LG Hi-Macs (also known as Corian) with a thickness of 6 mm. It makes sense that the embossing plates are exactly in A6 format, so you can simply place the card flush and emboss it. I clamp them in the vice. An embossing press or even a platen press would of course be easier, but really too time-consuming for a handful of cards.
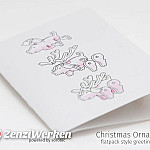
I printed the assembly instructions on the front of the cards with the laser printer and coloured them with watercolour to make the whole thing a little more lively.
MaterialPlywood AudienceAdults AudienceKids ComplexitySimple PurposeDecoration
